PaaS Manager
This documentation describes how to use the PaaS Manager via the REST APIs.
Getting Started
If you want access to the platform contact us.
Login
On the login page you have the option to either login, request a new account or reset your passoword.

Once logged in, on the start view, you should see a blue box with the number of already deployed applications. Click on View Details. Alternatively on the left hand side menu click on Applications. On the next mask above, there is a button Create App. The next section explains in details the procedure on creating your application.
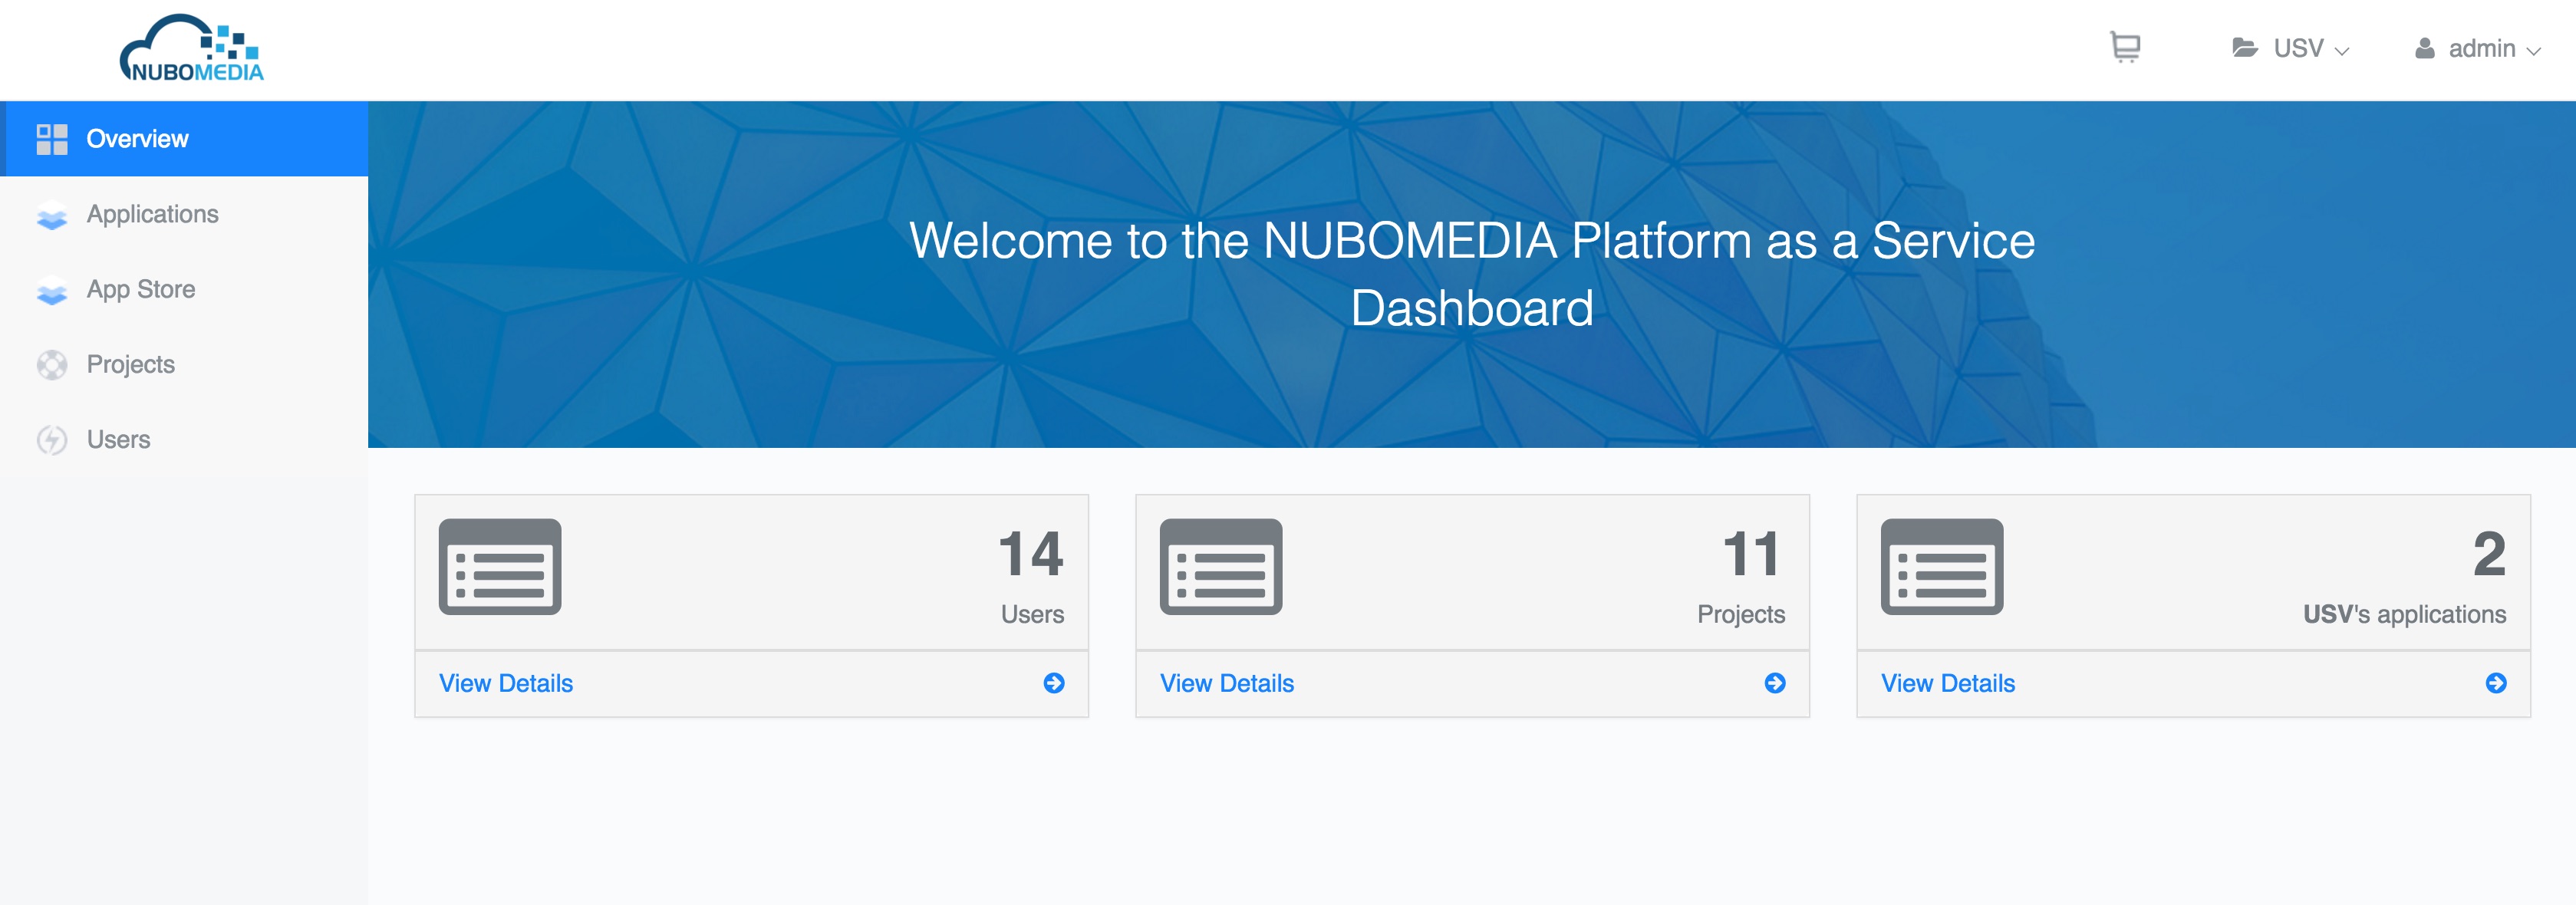 PaaS Manger - Start View
 PaaS Manager - Create App
Create an Application
In order to deploy your application on NUBOMEDIA PaaS, it is important that you followed the previous steps provided in the Guidelines on Building Application in order to understand how to create an application for NUBOMEDIA. If you made all the steps required, you should get at the end a URL of a Git repository where your Dockerfile is contained. See [sample example] (https://github.com/nubomedia/nubomedia-magic-mirror).
Once you have all files assembled, the Create App View on the PaaS Manager GUI provides you two options to create your application: a Form view and JSON view. Here the Form view is what you wish to use. You can build a JSON template of your application following the tutorial here in section Create Application. Once you have the JSON file, you can submit it via the GUI.
For the Form view, you should see a mask similar to the image below.
 PaaS Manager - Create App - Form View
where:
-
GitURL: the Git repository URL that contains your project (source or jar), Dockerfile and other files that are necessary to run your application. If the repository is public the link has to be the HTTP version, if is private has to be the SSH version. -
Application name: is the name of your application as you would want it to appear on the PaaS. This name is used for creating the DNS entry for your application. -
replicasNumber: is a numeric value indicating the number of containers to be created for your application by the PaaS. This value is used for load balancing. -
flavor: This defines the size of the KMS instances. WithMEDIUMflavor, you get 2 VCPU and withLARGEflavor you have 4VCPU. The capacity is defined as 100 points for VCPU. -
secretName(optional): Indicates the name of the secret that has to be used only if your application is on a private Git repository -
Do you want to set the scale IN/OUT threshold?if checked then you are given the options to set. Please follow the autoscaling documentation for more details on how autoscaling works.-
scaleInOut: Scale in or out indicates the MAX number of media servers (KMS) instances that will be instantiates at runtime, by the auto scaling system. -
scale_out_threshold: This is the threshold (in terms of averaged number of points) which will be used for the policy of the autoscaling system. CHECK which flavor you are going to use before defining this threshold.
-
Info
Do not put a value lower than the total capacity of your flavor!
-
Do you want to set the Quality of Service?If checked then you are given the options to set-
qualityOfService: If enabled it provides dedicated bandwidth levels between media server instances (optional). Possible values are:BRONZESILVERGOLD
-
-
Do you need a cloud repository for your app?Indicates if your application will be needing the cloud repository (the cloud repository is a running instance of the Kurento repository server application) -
Do you want to set the Turn Server?If checked then you are given the options to set-
turnServerUrl: The IP address and port of the TURN server you wish to use -
turnServerUsername: The username to be used as credentials to access the TURN server -
turnServerPassword: The password to be used as credentail to access the TURN server
-
-
Do you want to set the Stun Server?If checked gives you the option to set-
stunServerIp: The IP address of the STUN server you wish to use -
stunServerPort: The port of the SUN server you wish to use -
ports: Indicate the transport protocol and ports exposed for your application. The port is the port exposed by the container on which your application will be running, and the target port is the external port on which your application is reachable for the outside. So there is a mapping coming on within the PaaS for the port and target port. In principle, you can leave the port and target port the same, unless your application has special requirements. You can add more ports by clicking on the+button.
-
When all values have been entered, click on the Create App button below. Your request will be forwarded to the PaaS Manager and you will be directed the a view similar to the image below, which shows you the status to the creation process. Status gives you the status of the process. You might want to reload this page in case you see no update to the status field. The Load log button shows you the real time process status from NUBOMEDIA PaaS.
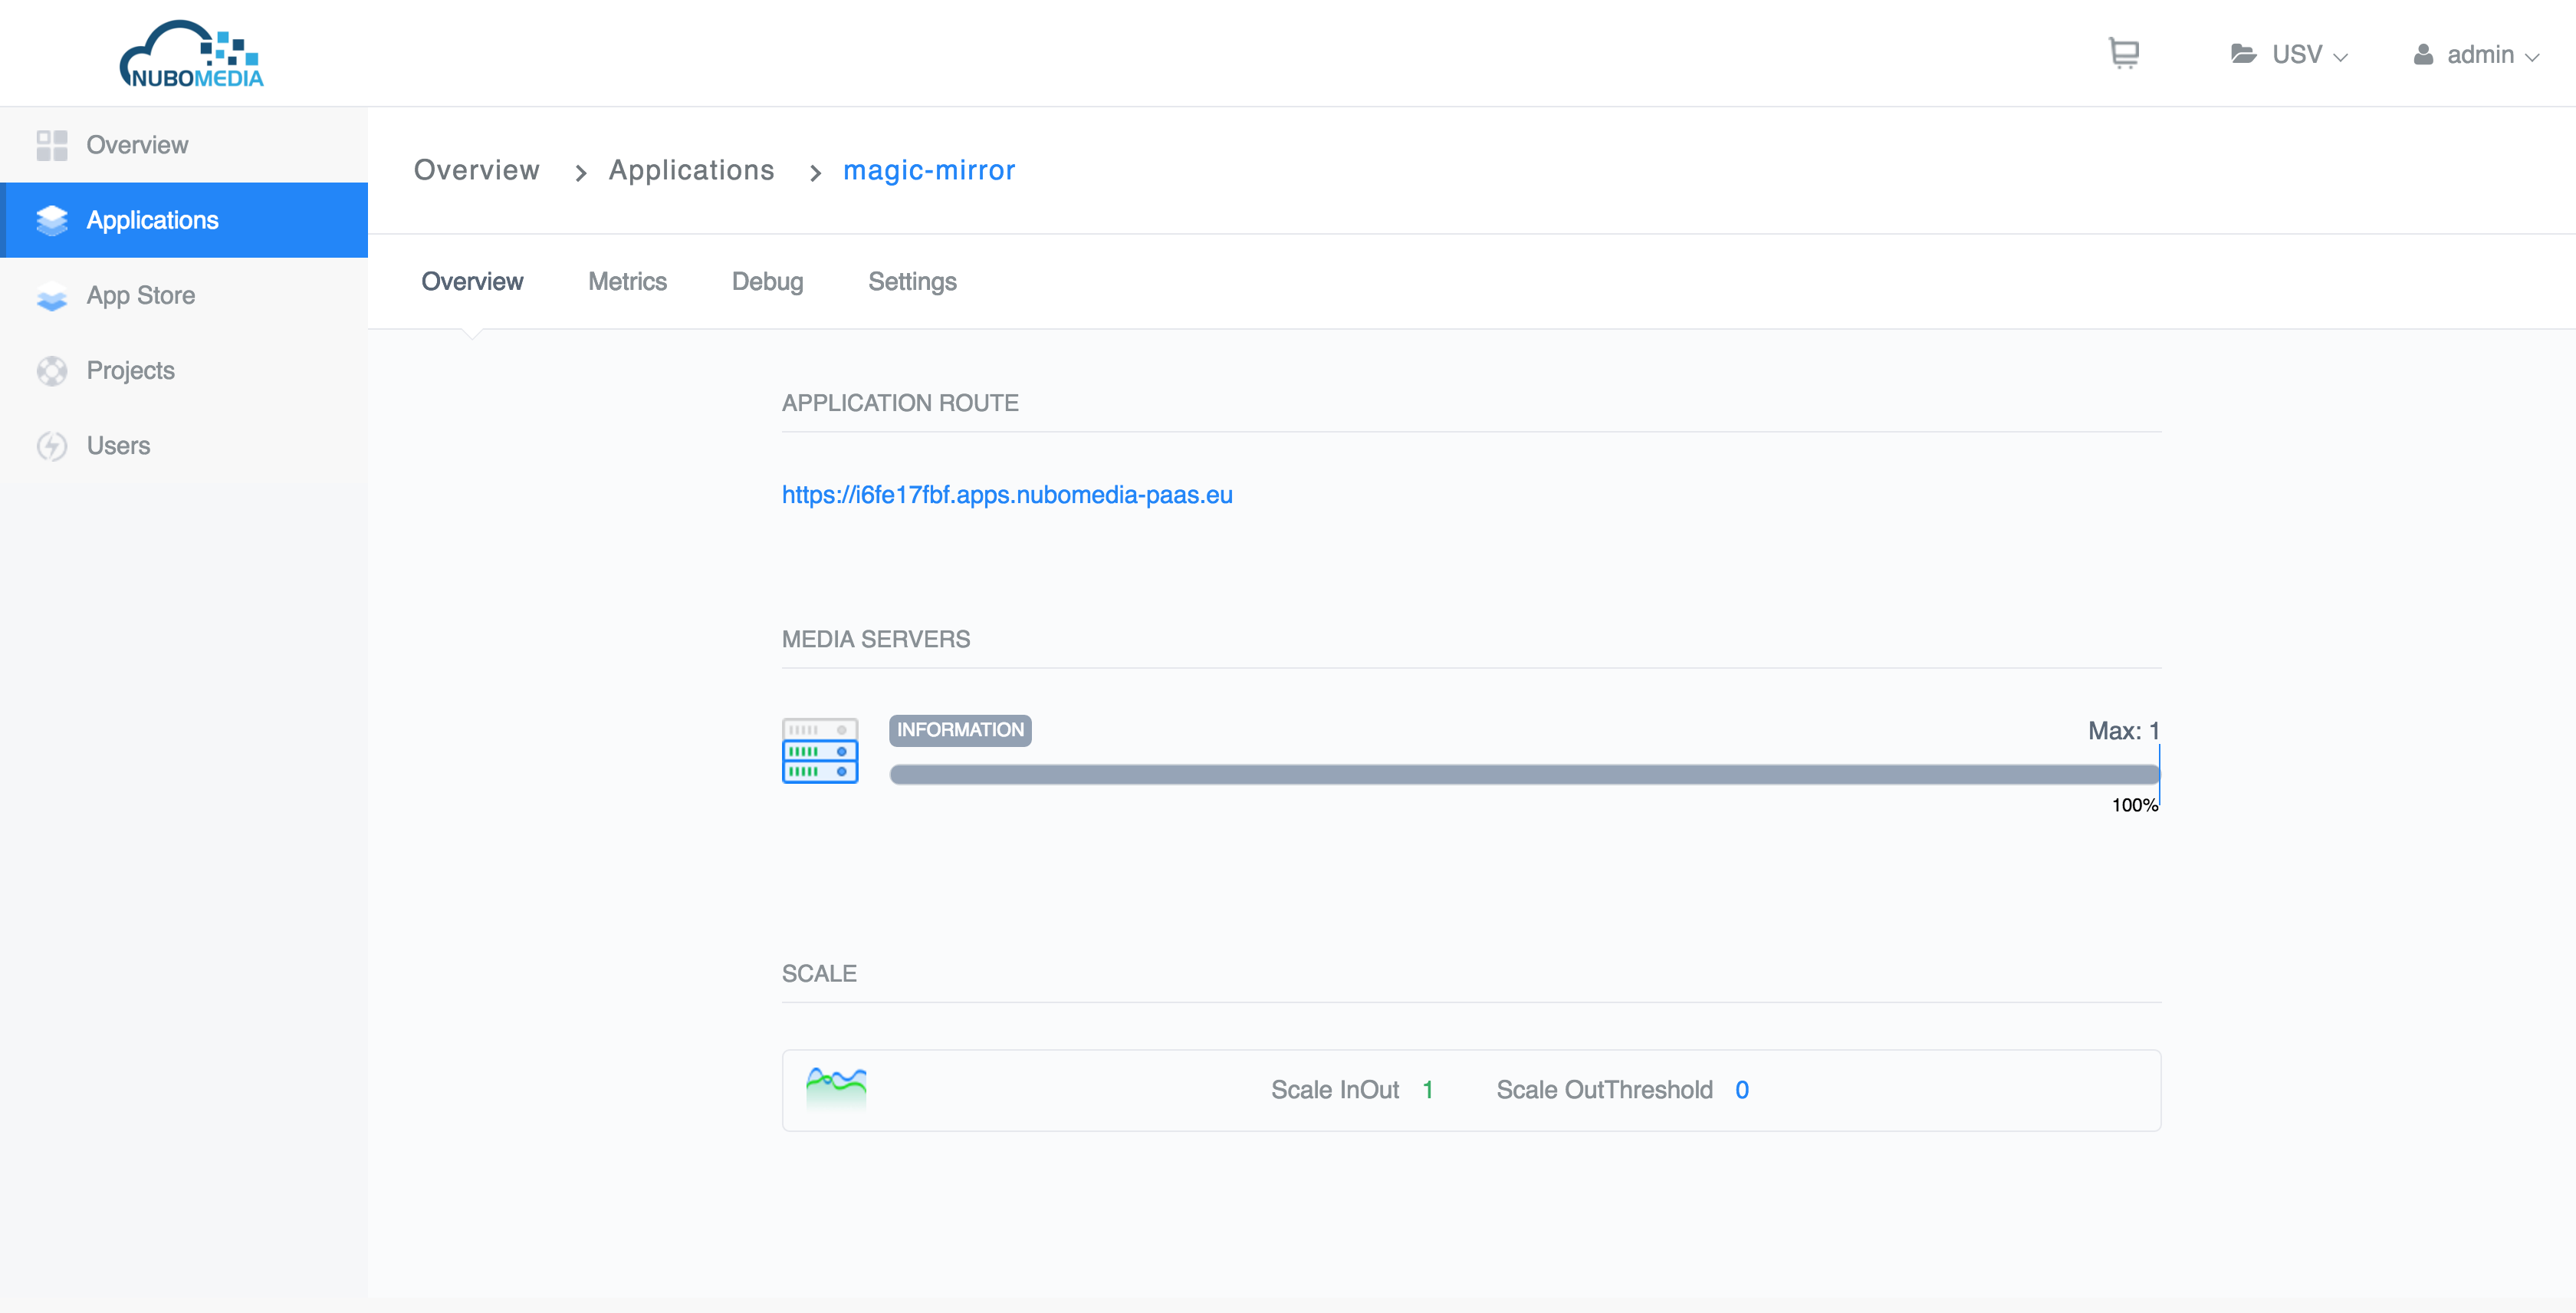 PaaS Manager - Create App - Application status View
Here you can check the number of media servers running, the autoscaling configurations and also the addons, if you have added a CDN Connector or a Cloud Repository.
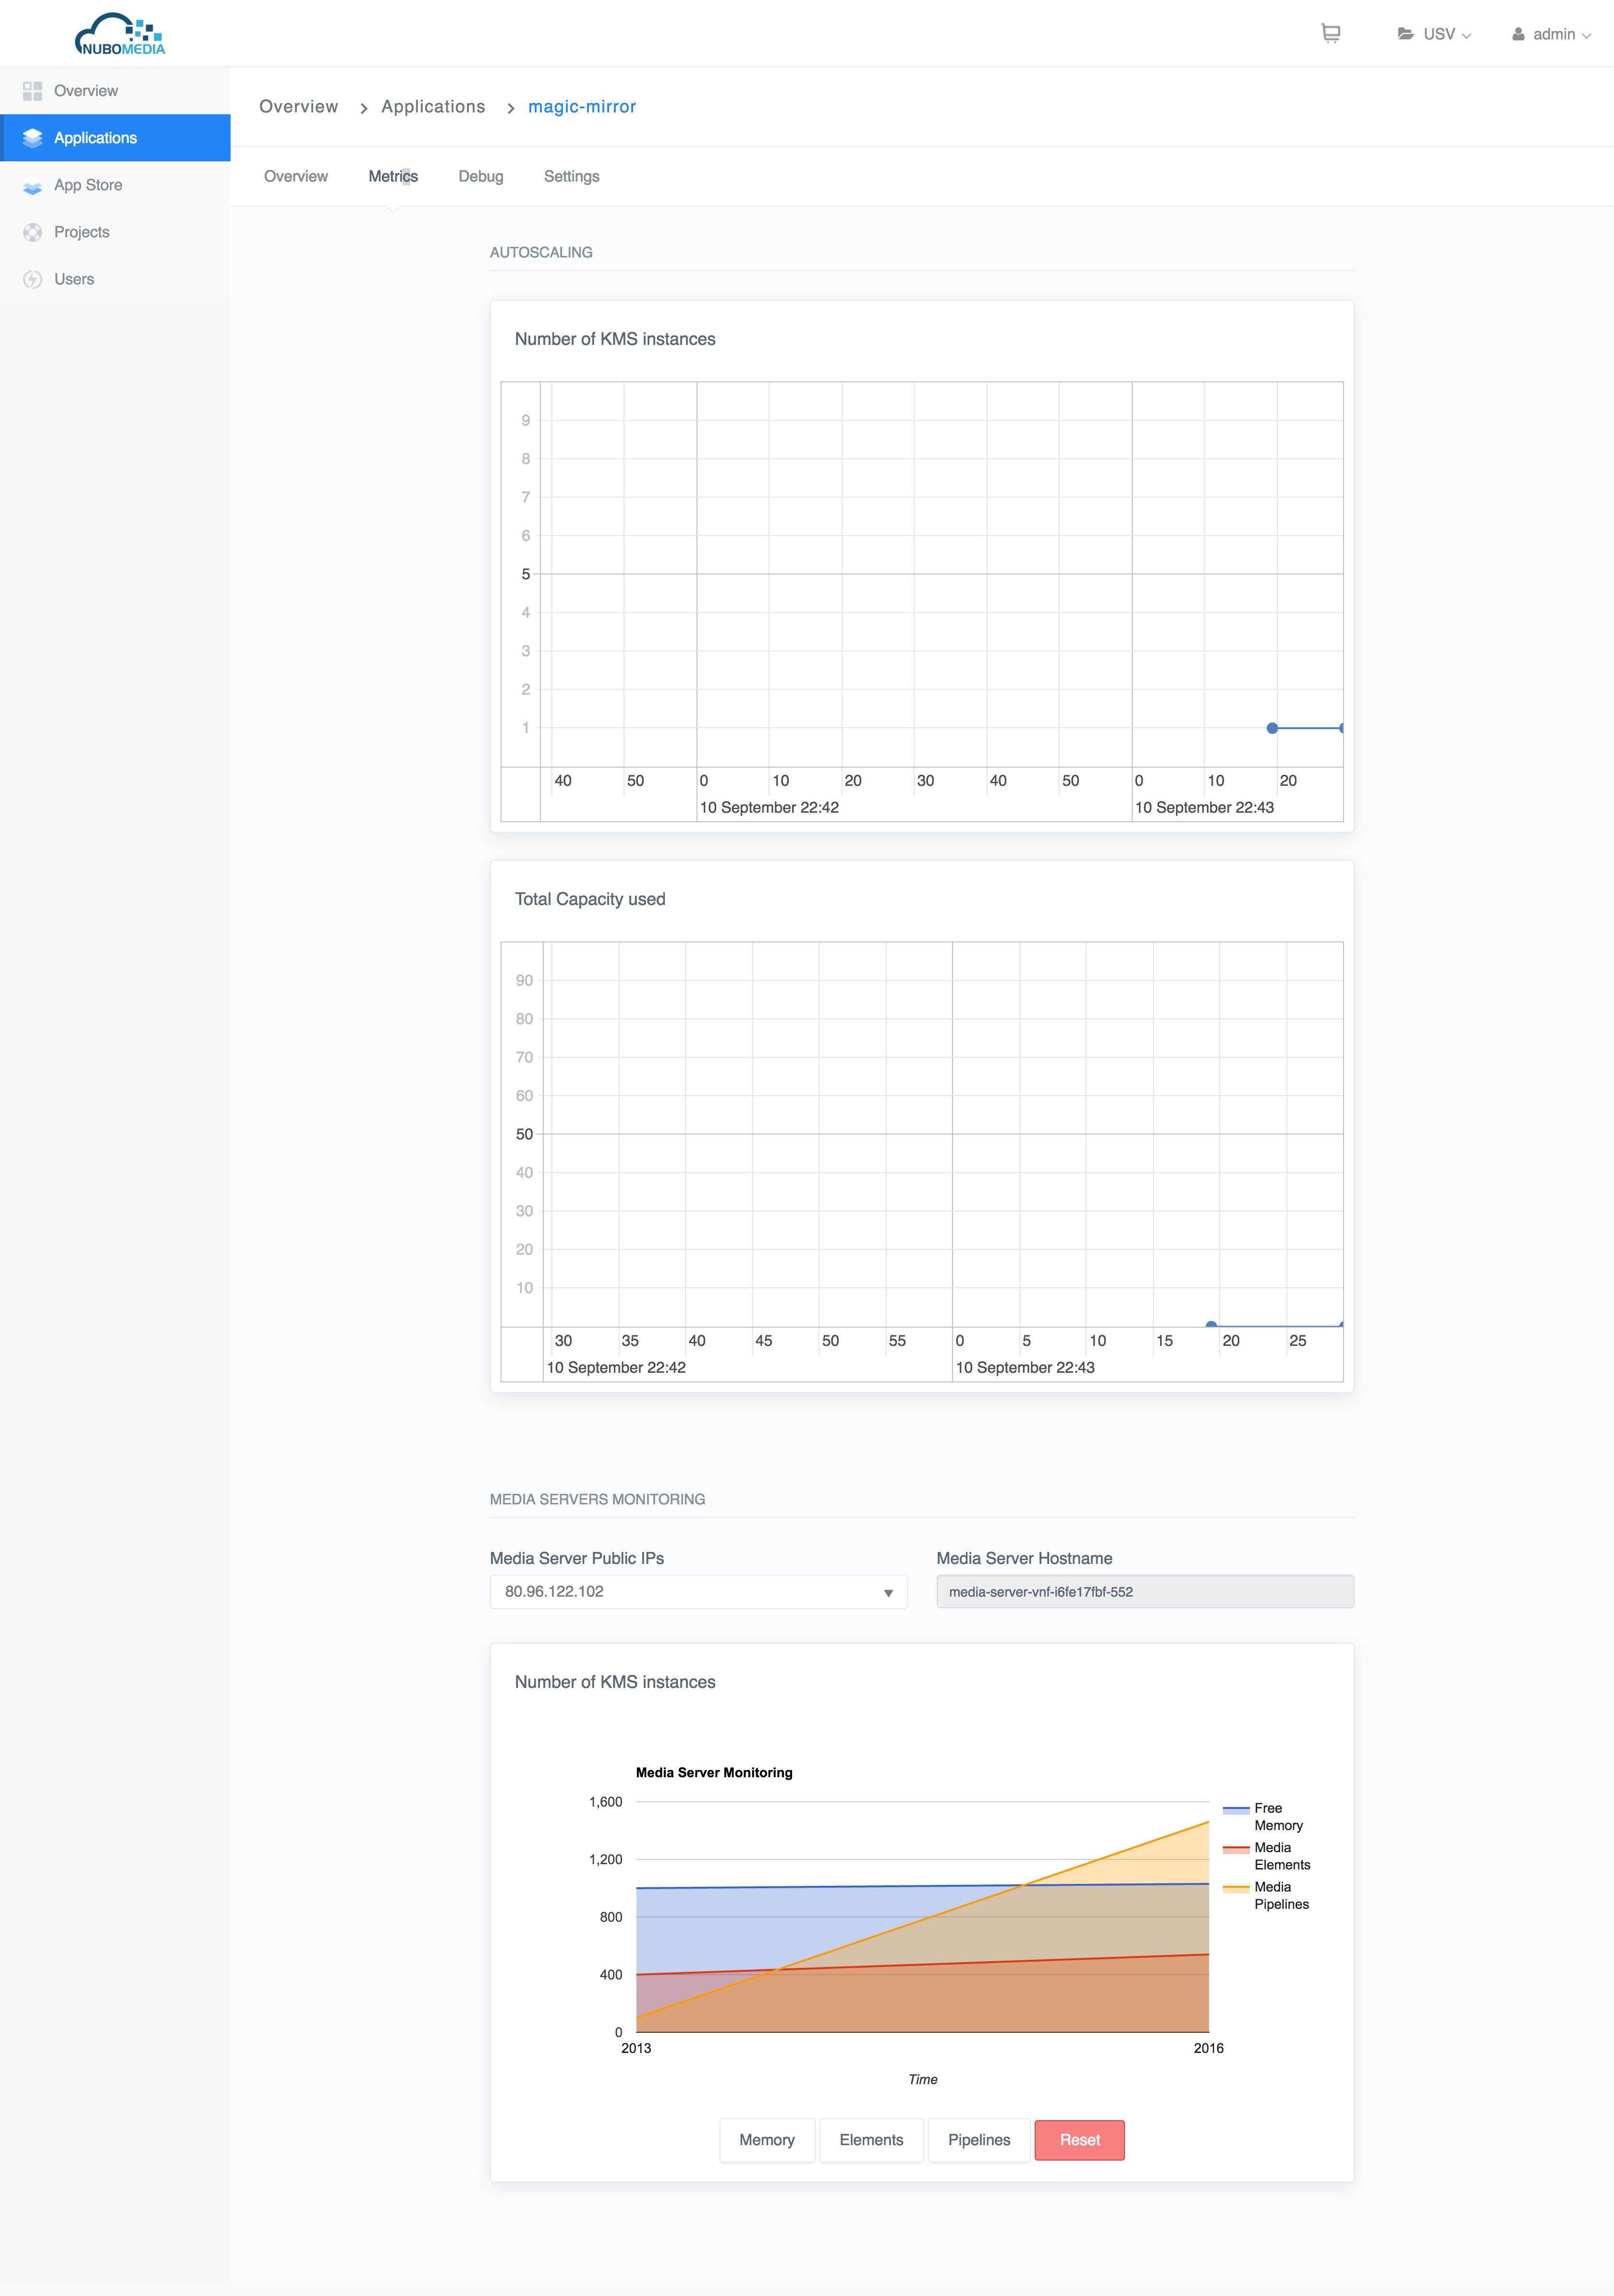 PaaS Manager - Create App - Application metrics View
On the Application Metrics tab you have some graphs related to the number of KMSs, memory used by each media-server and the number of media elements and media pipelines for each KMS.
 PaaS Manager - Create App - Application debug View
On this tab you can check both application logs and build logs.
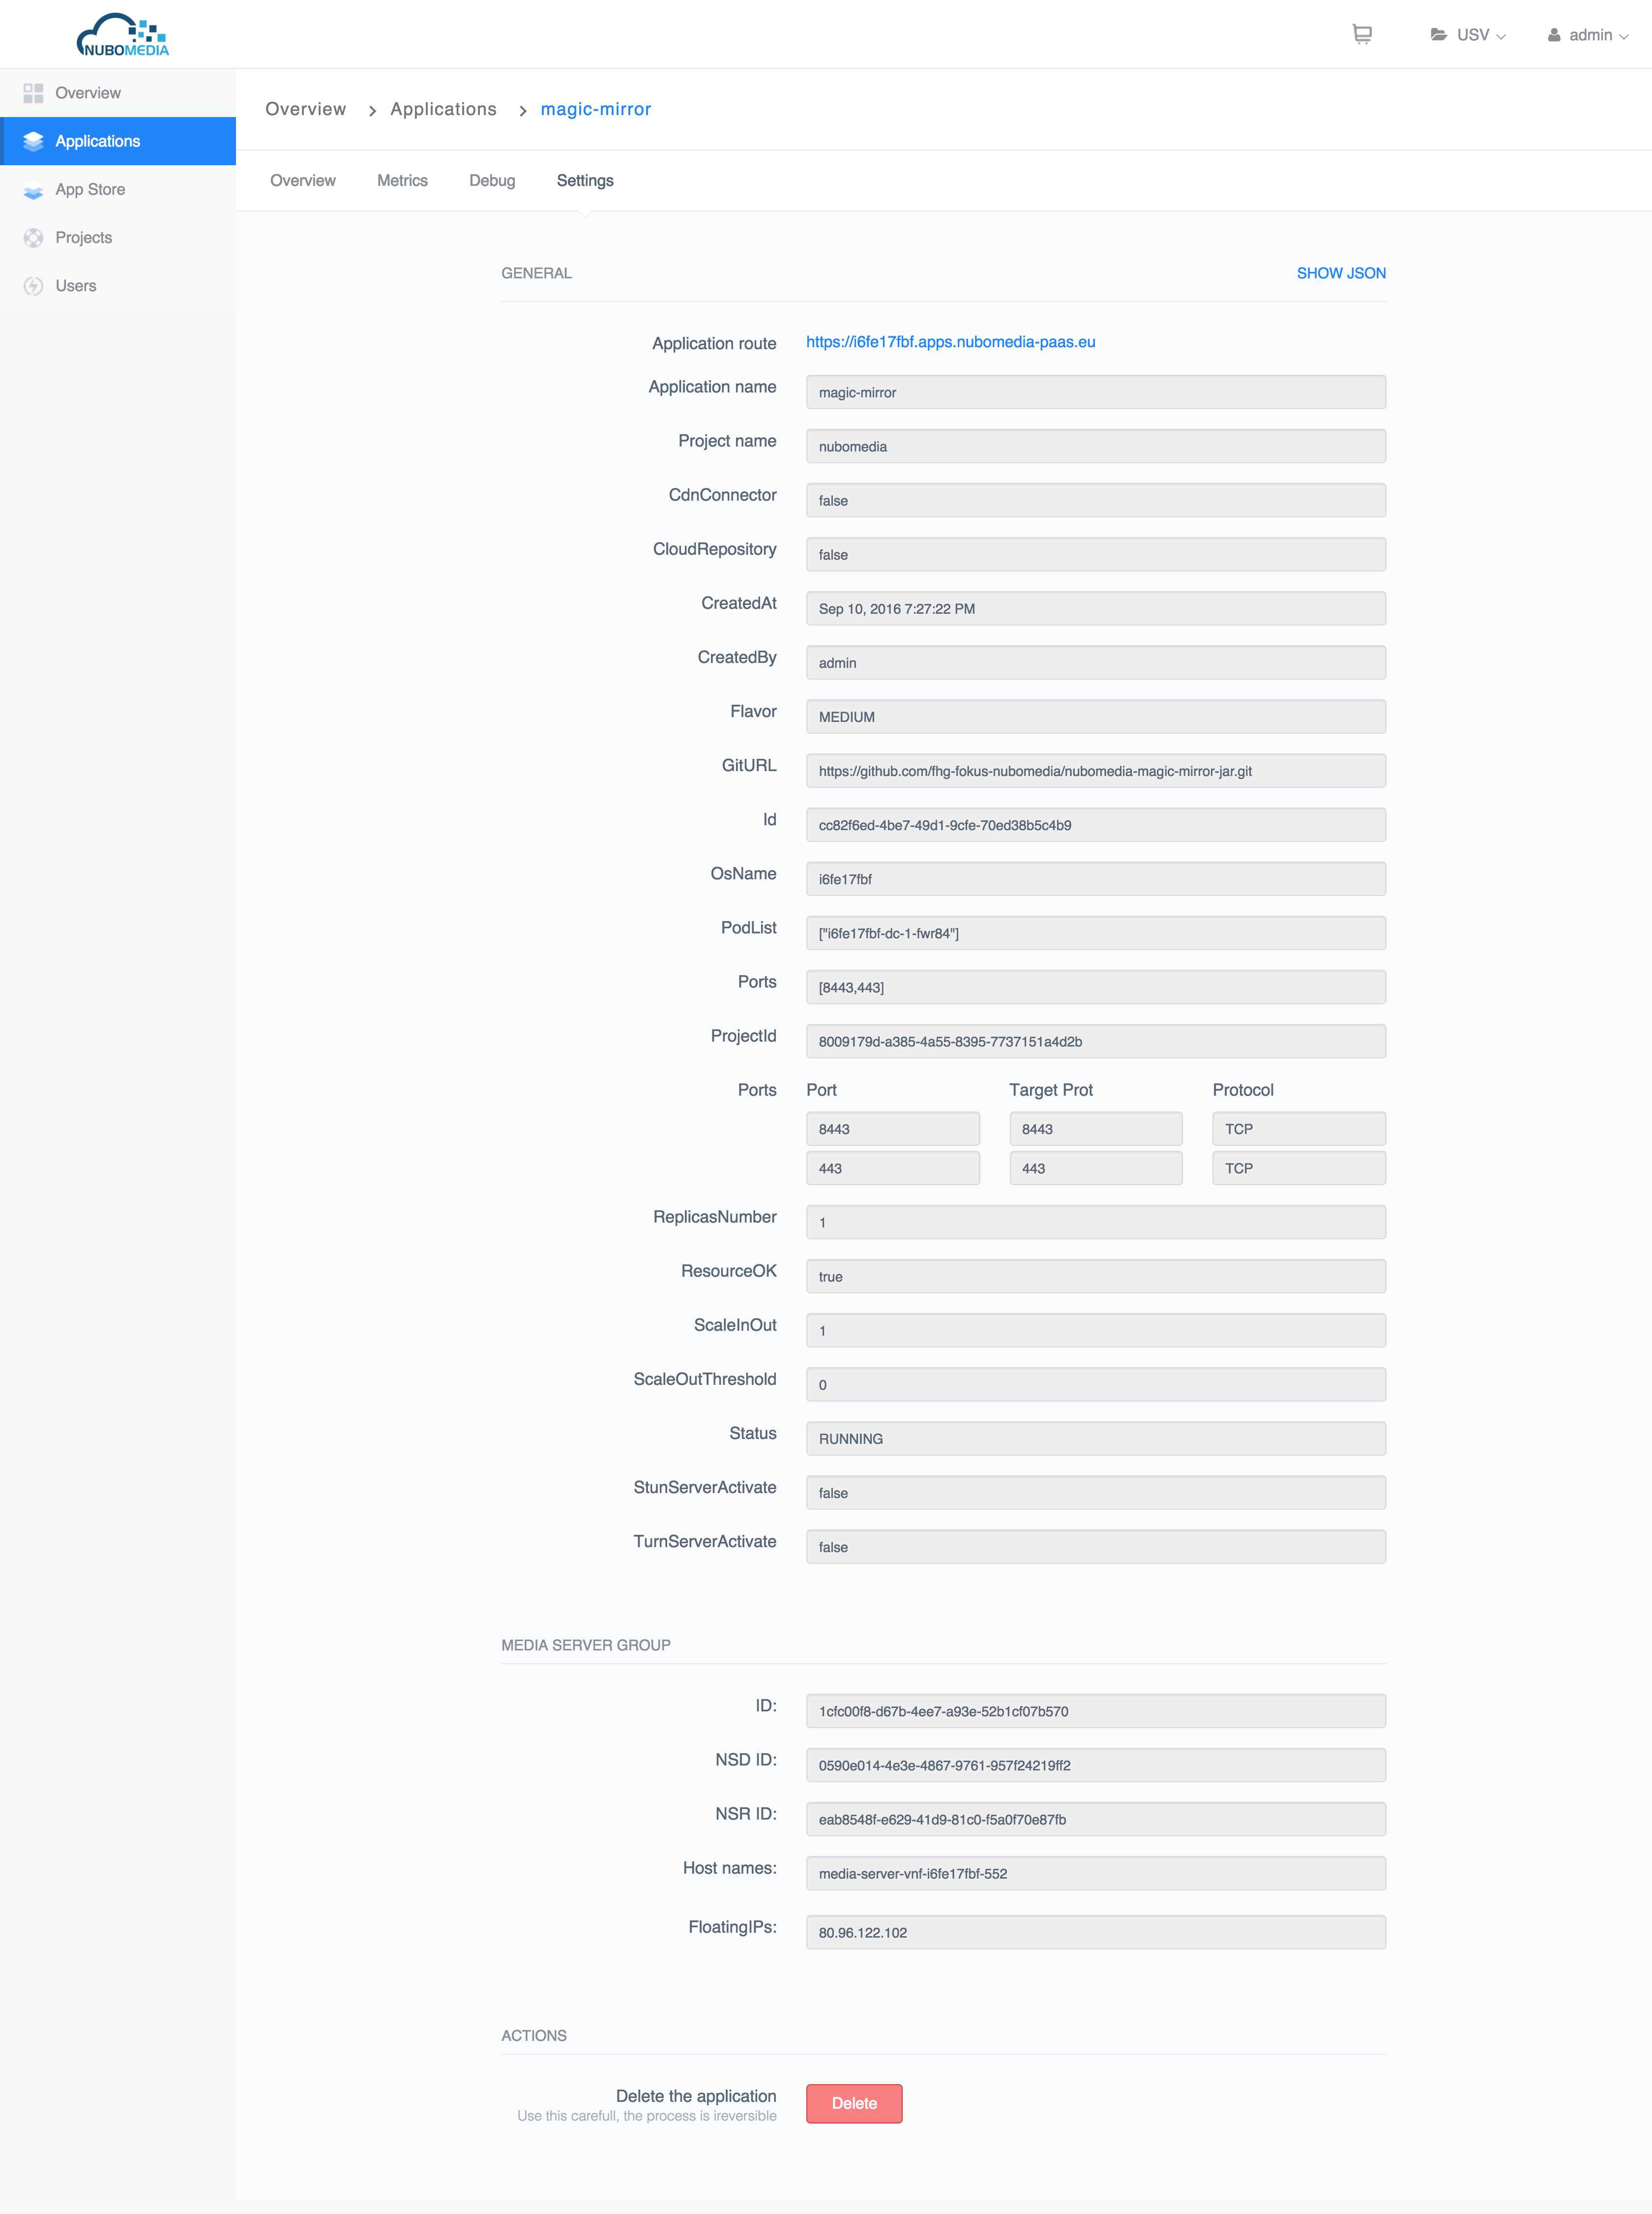 PaaS Manager - Create App - Application settings View
On the Application Settings tab you can check both the configuration parameters that you added at the deployment time. On this tab you can also find the delete button that would trigger the termination of your application.
After you deployed one application you should check it's status on the Applications overview page. Once it's status is RUNNING, your application has been successfully deployed, and it is running on the PaaS. On the Application Overview tab you have the route which represents the public endpoint of your application.